So, on the back of my recent obsession and investment into X-Wing minis I’ve delved back into the world of model scenery making. This is an activity I’ve always loved but rarely have the patience for. Also, as I only delve into this sort of thing as a flurry of activity every 2-3 years (when some new or old war-game has gained my interest once again) my tool collection for this work is a little all over the shop.
Anyway…
Model Asteroids version 1
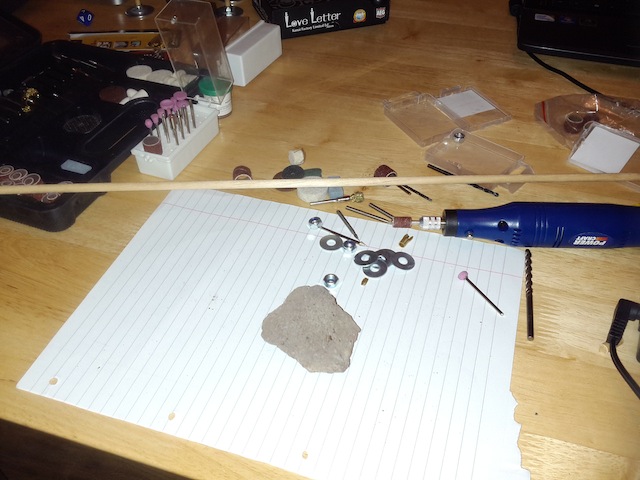
I was drying home from work the other night and took a quick swing past a local hardware. After wandering up and down aisles for a bit deciding what I wanted I picked up the following.
– 6mm dowel rod
– Super Glue
– M6 Nuts
– M6 Washers
– M12 Washers
– Box of Lava Rock
– 6mm Masonry drill bit
And off home I went. Luckily Sarah was out late on a work thing so I had no ‘WTF are you doing now?’ questions to get past. So into the back room I went to get started.
30 mins later: So, Can’t find my drill. Can find the drill box and the charger but not the drill itself. Which I suppose is good as I can’t find my clamps either and I didn’t fancy the awkwardness of trying to use a drill one handed drilling into a rock in my other hand. That sort of thing can lead to unexpected hospital visits. Luckily I did find my ‘engraving kit’ (though I now call it the Electric Hand Motor)which can take a multitude of different drill like attachments and is much easier to use single handedly.
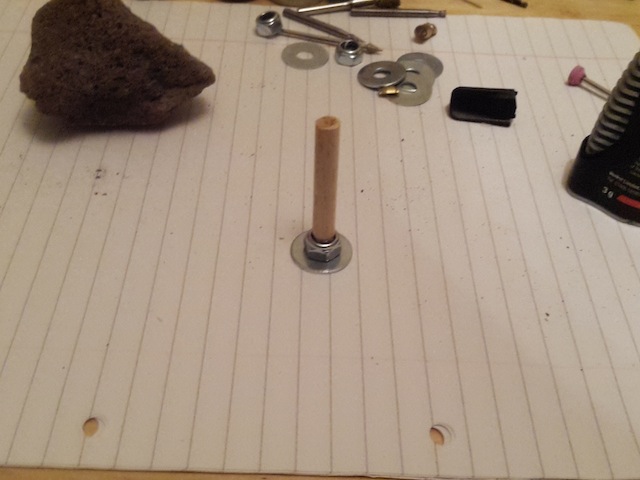
So without further ado I started. Chopped a bot of dowel of (about 3 inches) and tried to fit into the M6 nut. Little bit the wrong size. Balls!. But wait – what is that attachment in my box. A sandpaper roller – woo woo. Into the EHM with to and sanding the end of the dowel I go. Sand away about a millimetre of wood in total around the dowel and in it screw to the nut. Drop of superglue to hold it in and yay.
Then glued to the nut to the M6 washer and in turn to the M12 washer to form a solid base.
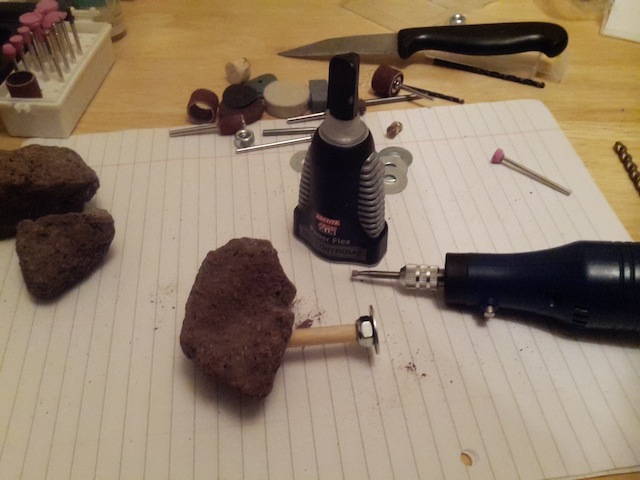
Next came the asteroid itself. Grabbed a few lumps of stone from the lava rock box and had a look. Picked up the pieces I thought most useful (I went for the lighter pieces with more ‘Aero Bubbles’ in them).
Bit of work with various attachments in the EHM (including Drill Bit) and a small hole about 4-5 mm’s deep was made in rock. Glued other end of based dowel into it and free standing asteroid exists. YAY!
So, now they are look not too bad. So time to think about decorating (ie. painting) them. I like the look of the lava rock itself and don’t think it needs a lot of work. Possibly a little dry bruising in blueish-grey or such.
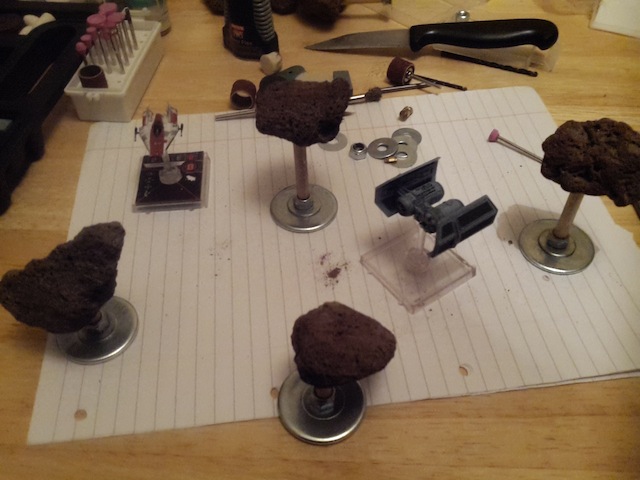
The stem and base though… Black seems like the obvious choice. Not a problem for the stem. Just a bit of black paint over the wood and waylay!. The base itself though. In my haste I’ve gone and gotten zinc-plated nuts and washers. This leads issues as painting straight on will lead to bad adhesion and probably flaking. A little reading says I need to wire brush the zinc and then use an etching primer on the zinc so the acid in the primer eats into the coat and holds. Sounds like a lot of work for something I don’t want to be hard.
Hmmm….
May rethink base solution. (I was thinking of ordering Large Flying Bases form GW but this seems like cheating).
More later when I’ve pondered further.

Recent Comments